Hello my friends! 💓
I'm sooo happy because on Tuesday we will see each other! We will tell what we have been done in these days and.. We will eat our "mona de Pascua"!
Can you cook it with you family?
Here is the recipe...
Ingredients:
500 gr. Of flour
1 envelope of dry yeast (12 gr.) Or 25 gr. fresh yeast
1/4 liter of warm milk
100 gr. melted butter
80 gr. of sugar
1 egg
1 pinch of salt
To "paint" the dough
1 egg yolk
1 tablespoon of milk
Let's do this!
1. We put the flour in a bowl. Add the dry yeast and mix everything well with a fork. We add the rest of the ingredients: the butter (previously melted it in the microwave), the milk, the sugar, the egg and a pinch of salt. We beat everything well with the mixer and we give the dough a round shape with our hands, leaving a dough.
2. We cover the bowl with a cloth and put it in the oven for about 20-30 minutes at a maximum temperature of 50 degrees, leaving the oven door ajar with a wooden spoon, until we see that the dough has risen, that is, that has visibly increased in volume. We can also heat it in the microwave by covering the bowl with a damp cloth at 80-90 watts for about 8 minutes.
3. As the dough grows, we cover a cookie sheet with parchment paper. Once the dough has risen, we divide it into 4 or 5 parts depending on the amount of "monas" you want to make and the size. Here we have to let our imagination run wild to shape the dough with the shapes we want. You can do different figures: a rabbit, a turtle, a nest and a braid..., decorating with colored balls, painted cooked eggs, sliced almonds, sugar ... It is the moment of imagination!
4. We put them another 10 minutes in the oven at maximum 50 degrees, so that the dough continues growing. Once we have our figures ready, we mix an egg yolk with a tablespoon of milk and paint the monkeys with this mixture, so that they brown in the oven. We add the decoration that comes to our mind to finish our figures.
5. With our figures already ready and decorated, we put them in the oven preheated to 200º for about 25-30 minutes, until we see that they are ready and that they have taken a suitable color.
6. We take them out of the oven, let them so that they get cold, put the painted eggs as decoration and we already have our Easter "monas" ready to eat.
7. To eat them, we can spread them with butter, jam, a little cheese ... Accompanied by a hot chocolate, we have a great breakfast or snack for Easter!
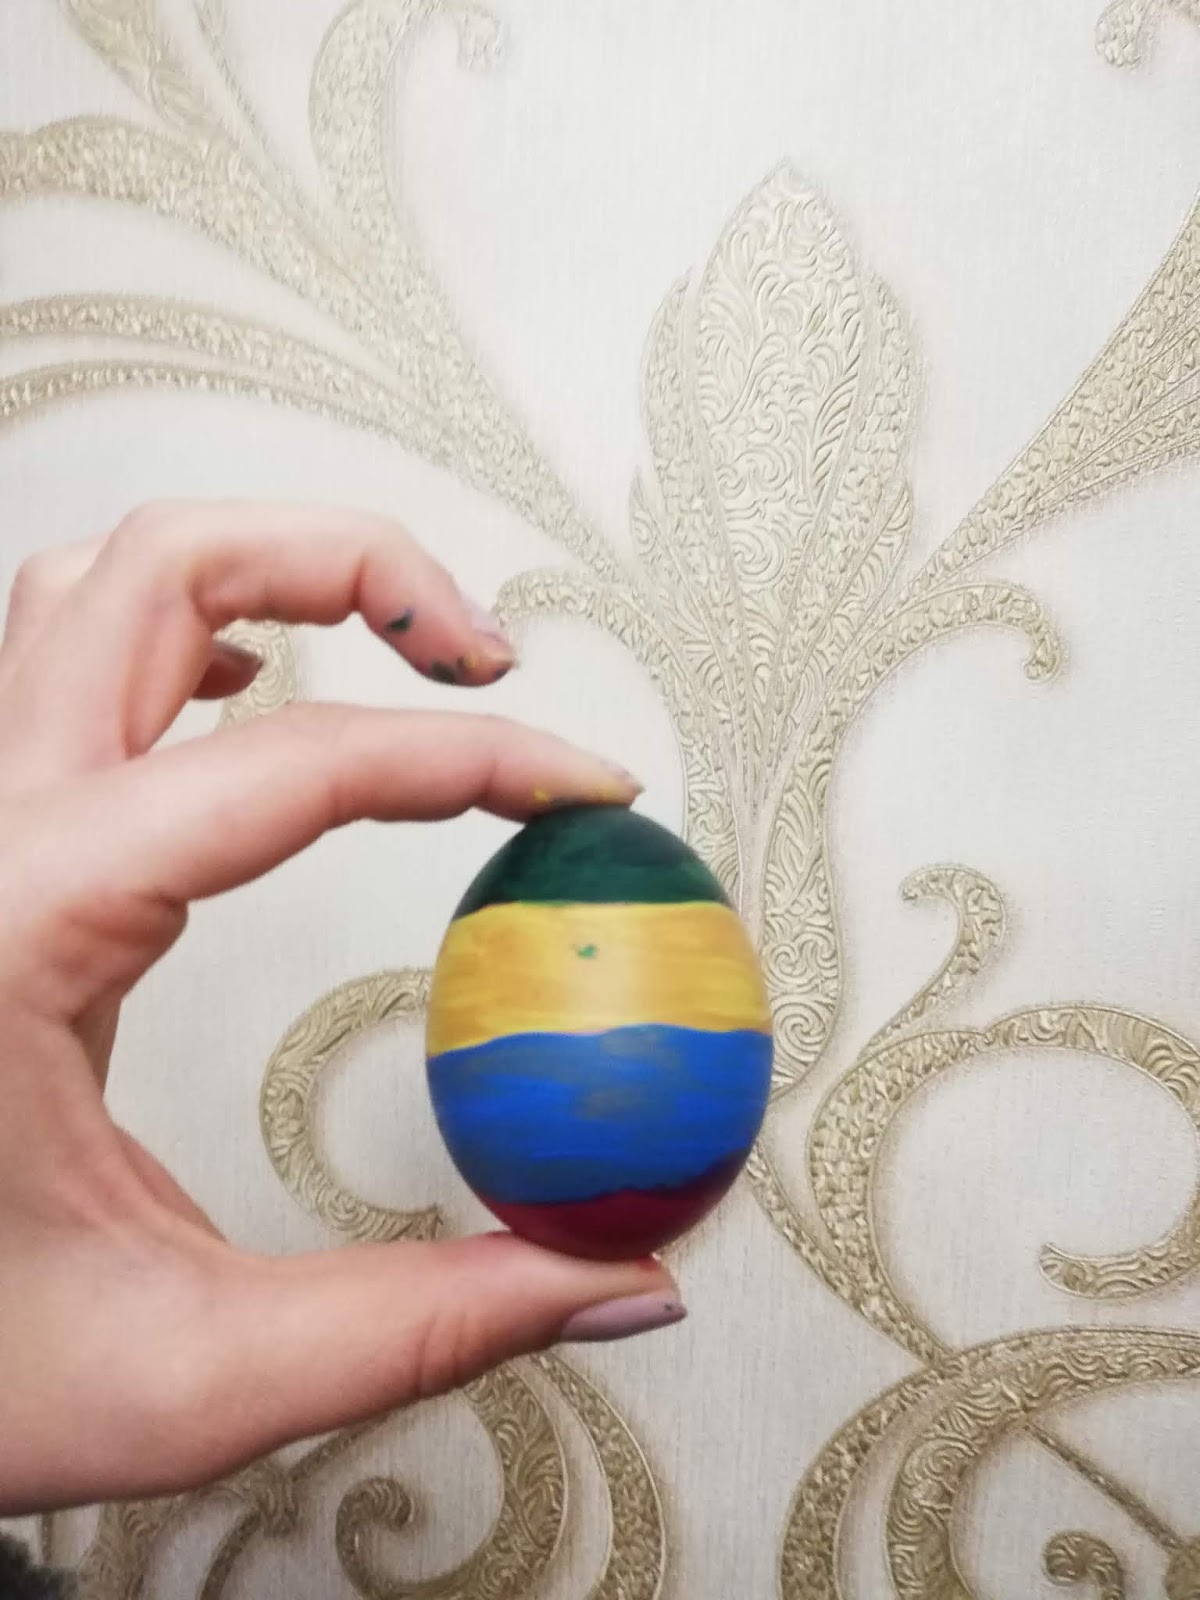
When we are all connected to "Zoom", we can read what we have been doing and show each other our "mona". In addition, we can decorate Easter eggs and put them in our "mona". Let your imagination run wild! Use all the colors in the palette.
Chus and I are looking forward to seeing your creations, artists.
See you on Tuesday! 💘
María.
Source: pequerecetas.
-----------------------------------------------------------------------------------------------------------------------
¡Hola amigos! 💓
¡Estoy tan feliz porque el martes nos veremos! Nos contaremos lo que hemos hecho en estos días y ... ¡Comeremos nuestra "mona de Pascua"!
¿Puedes hacerla con tu familia?
Aquí está la receta ...
Ingredientes:
500 gr. de harina
1 sobre de levadura seca (12 gr.) O 25 gr. levadura fresca
1/4 litro de leche tibia
100 gr. mantequilla derretida
80 gr. de azúcar
1 huevo
1 pizca de sal
Para "pintar" la masa
1 yema de huevo
1 cucharada de leche
¡Hagámoslo!
1. Ponemos la harina en un bol. Añadimos la levadura seca y lo mezclamos todo bien con un tenedor. Añadimos el resto de ingredientes: la mantequilla (previamente la hemos derretido en el microondas), la leche, el azúcar, el huevo y una pizca de sal. Lo batimos todo bien con la batidora y le damos forma redonda a la masa con las manos, quedándonos con una masa.
2. Cubrimos el bol con un paño y lo ponemos en el horno durante unos 20-30 minutos a una temperatura máxima de 50 grados, dejando la puerta del horno entreabierta con una cuchara de madera, hasta que veamos que la masa haya levado, es decir, que haya aumentado su volumen visiblemente. También la podemos calentar en el microondas cubriéndolo el bol con un paño húmedo a 80-90 watts durante unos 8 minutos.
3. Mientras la masa crece, cubrimos una bandeja de horno con papel vegetal. Una vez la masa ha levado, la dividimos en 4 o 5 partes dependiendo de la cantidad de monas que queráis hacer y el tamaño. Aquí tenemos que dejar volar nuestra imaginación para darle forma a la masa con las figuras que queramos. Puedes hacer diferentes figuras: un conejo, una tortuga, un nido y una trenza, decorado con bolitas de colores, huevos cocidos pintados, almendras fileteadas, azúcar… ¡Es el momento de la imaginación!
4. Las ponemos otros 10 minutos al horno a máximo 50 grados, para que siga creciendo la masa. Una vez tenemos nuestras figuras listas, mezclamos una yema de huevo con una cucharada de leche y pintamos las monas con esta mezcla, para que se doren en el horno. Añadimos la decoración que se nos ocurra para acabar nuestras figuras.
5. Con nuestras figuras ya listas y decoradas, las ponemos en el horno precalentadas a 200º durante unos 25-30 minutos, hasta que veamos que están listas y que han tomado un color adecuado.
6. Las sacamos del horno, las dejamos enfriar, le ponemos huevos pintados como decoración y ya tenemos nuestras monas de Pascua listas para comer. ¿Han quedado «monísimas»? jiji
7. Para comerlas, las podemos untar con mantequilla, mermelada, un poco de queso… Acompañadas de un chocolate caliente, tenemos un estupendo desayuno o merienda para los días de Pascua!
Cuando todos estamos conectados a "Zoom", podemos leer lo que hemos estado haciendo y enseñar nuestra mona. Además, podemos decorar nuestros propios huevos de Pascua.. ¡Deja volar tu imaginación! Usa todos los colores que tengas.
Tanto Chus como yo, tenemos muchas ganas de ver vuestras creaciones, artistas.
¡Nos vemos el martes!💘
María